The “More menu” provides additional class functions. For example, the teacher can change students’ attendance status or open multimedia files.

More menu
![]() Attendance
Attendance
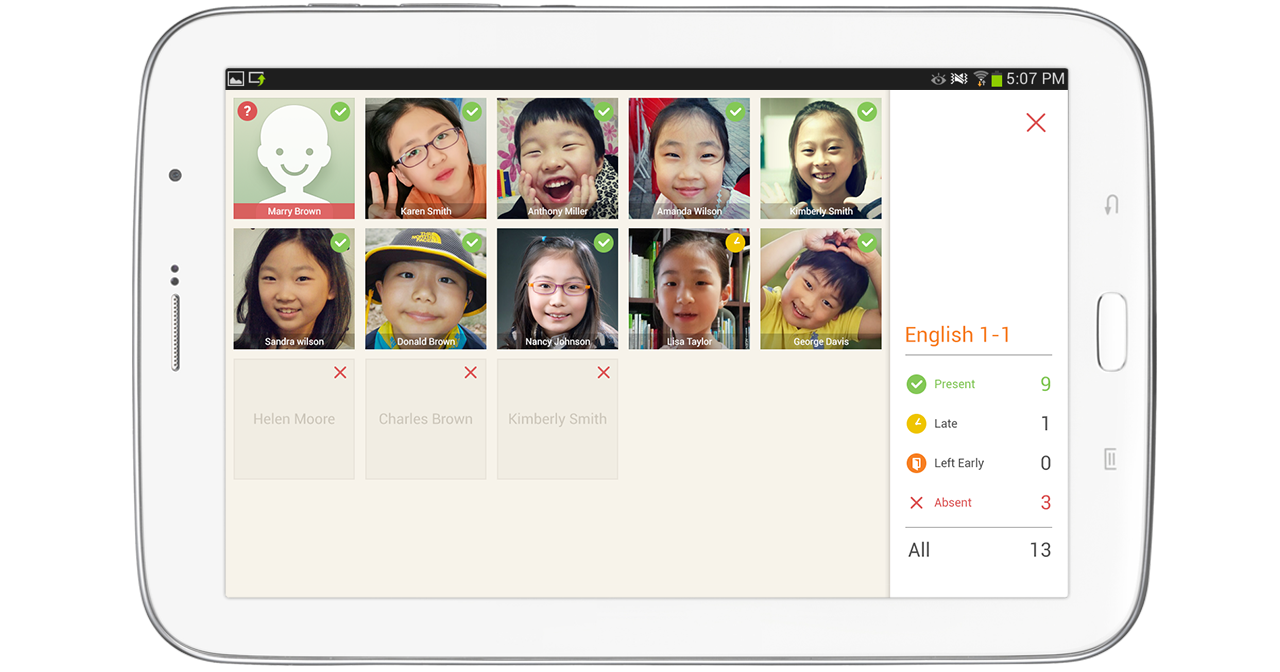
This icon is used to check students’ attendance and to change their status. On the right side of the attendance screen, the current class name and student count along with the attendance status are displayed. A pop-up window for changing attendance status will be displayed when selecting a student on the left side of the attendance screen.
Attendance
There are 4 kinds of attendance statuses.
 Present : A student currently attending.
 Late : A student who’s late for the class.
 Left Early : A student who left the class before finishing.
 Absent : A student who didn’t attend the class.
![]() Textbook
Textbook
This icon is used to change the textbook or the chapter. A waiting screen is displayed to the students while the teacher changes the textbook or the chapter.
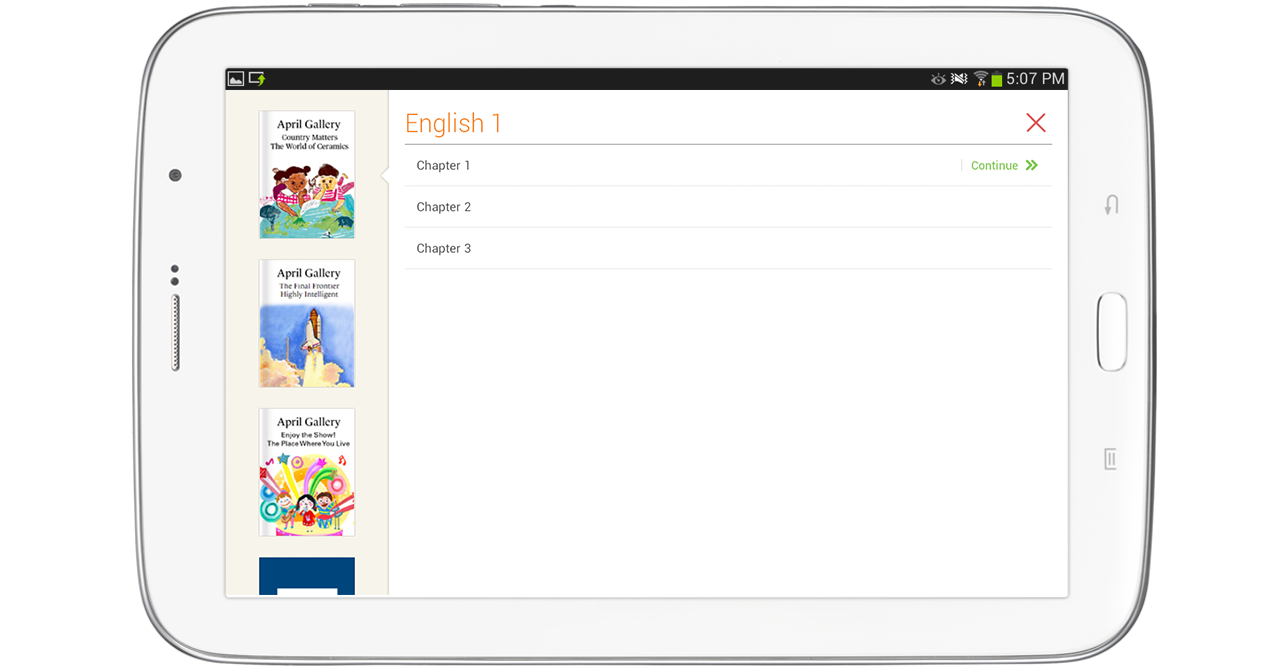
Teacher’s Textbook
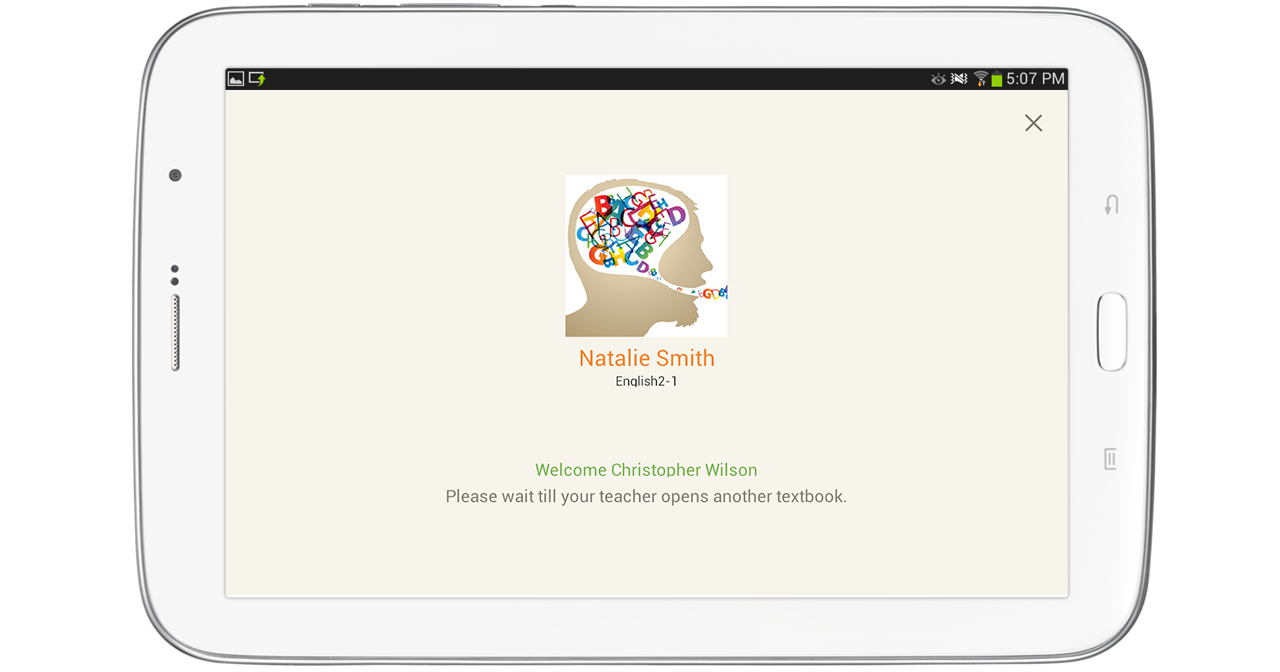
Student’s Textbook
![]() Open Webpage
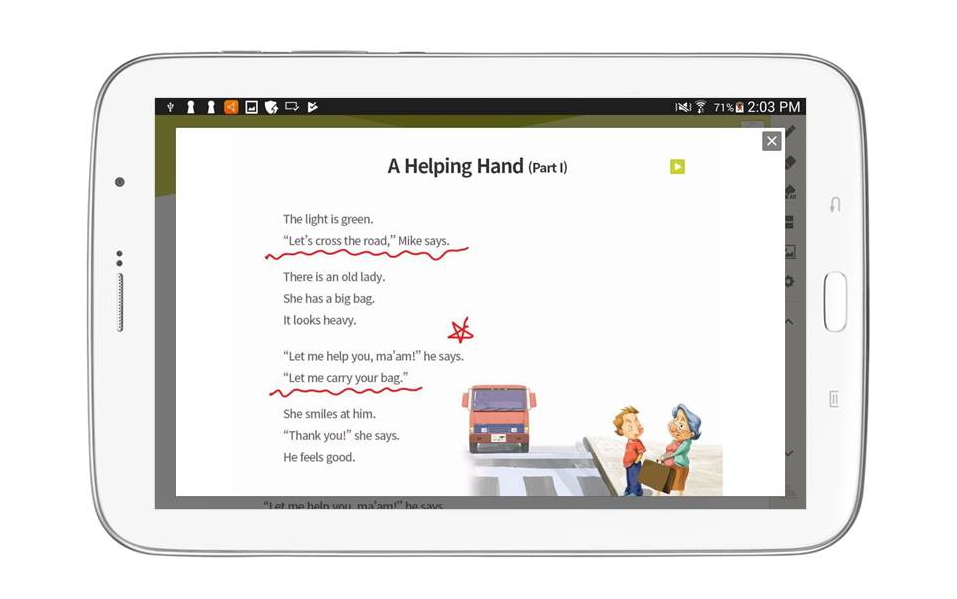
Open Webpage
This icon is used to run the browser and browse websites. This screen also provides writing tools and the “Eyes on teacher” mode.
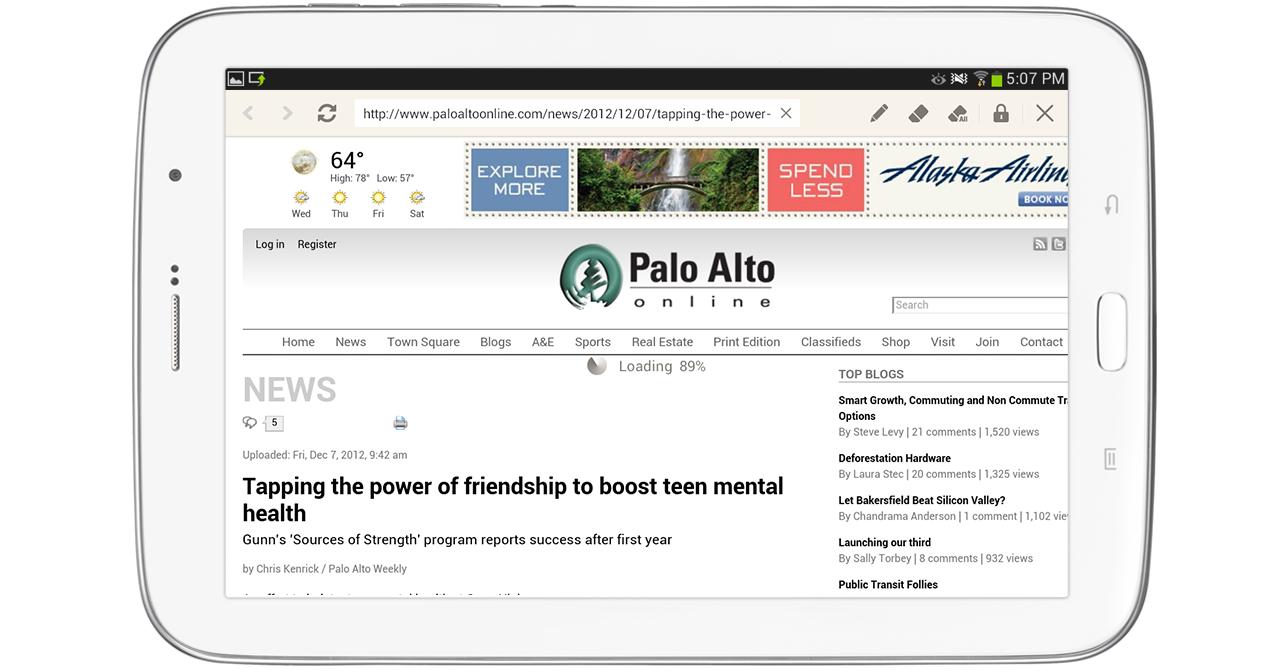
Open Webpage
![]() Open Image
Open Image
This icon is used to find an image stored in the teacher’s tablet. This screen also provides writing tools and “the Eyes on teacher” mode.
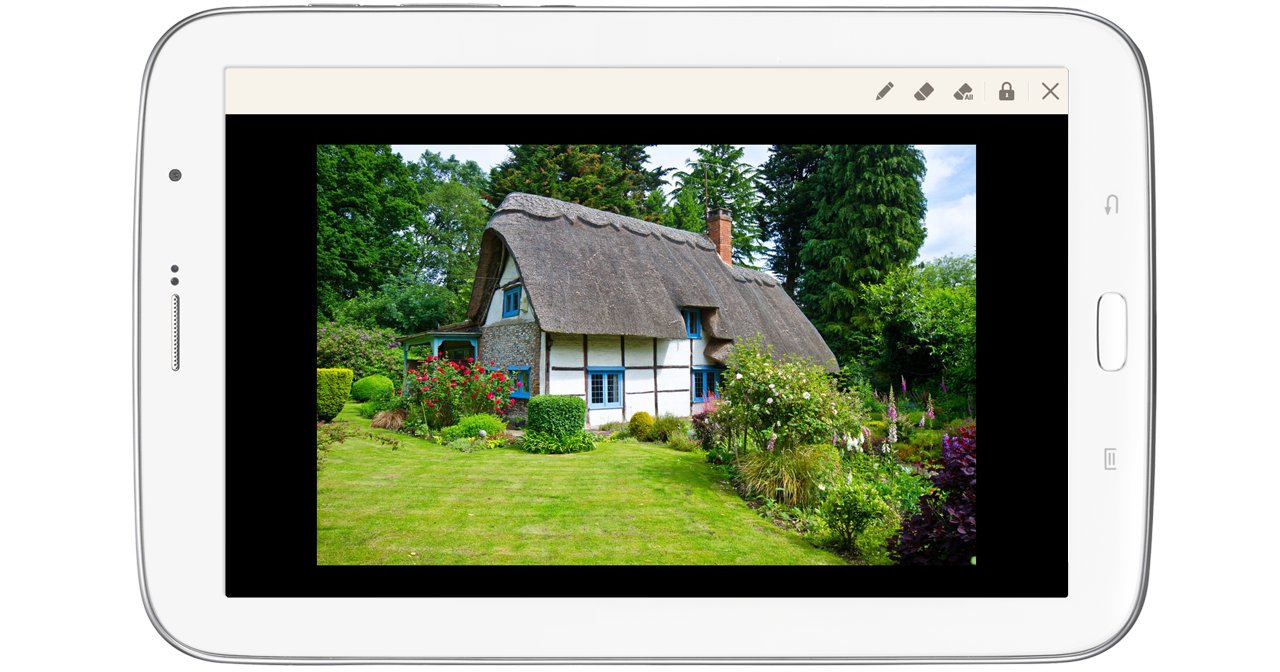
Open Image
![]() Media Card
Media Card
This icon is used for the teacher to make additional contents and add to his(her) textbook. Added media card can be transmitted to the students.
1. Select “Media Card”.
2. Tap desired location on the textbook and media card creation screen will be displayed.
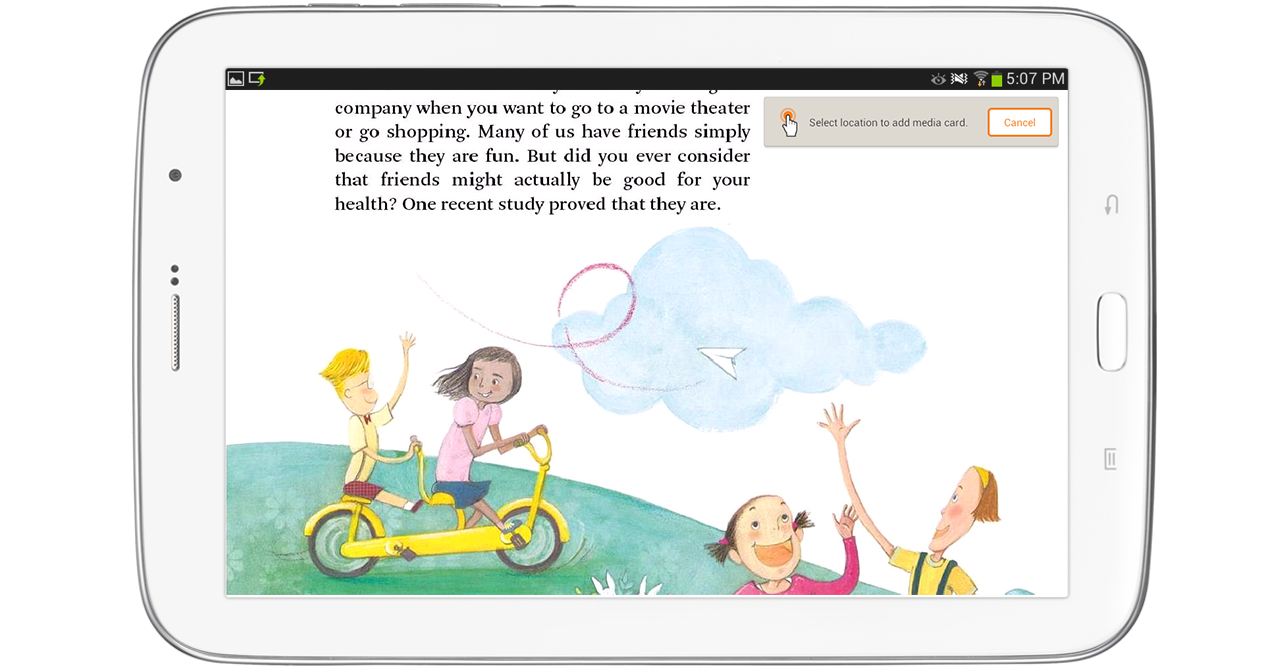
Selecting location for the media card
![]() Unsync
Unsync
This icon is used to disable screen sync so that the students can view pages independently of the teacher. For example, it can be used when the students need to answer multiple questions across several pages. Select the Un-sync icon and a widget to cancel it will appear on the upper left of the teacher’s screen. Students can move to other pages, check the correct answer, check their score(s) and play multimedia on their own.

Unsync widget on teacher tablet

Student tablet
![]() Timer
Timer
This icon is used to run timer. Select the Timer icon and a widget to cancel it will appear on the upper left of the teacher’s screen.
1. Select the Timer icon.
2. Set the desired duration. Select the suggested time or use arrows to change it.
3. Select “Start” and the timer widget will run and the countdown will start. An alarm will sound when the time is up.

Timer popup

Timer widget
![]() Option
Option
This menu is used to set options for writing tools.
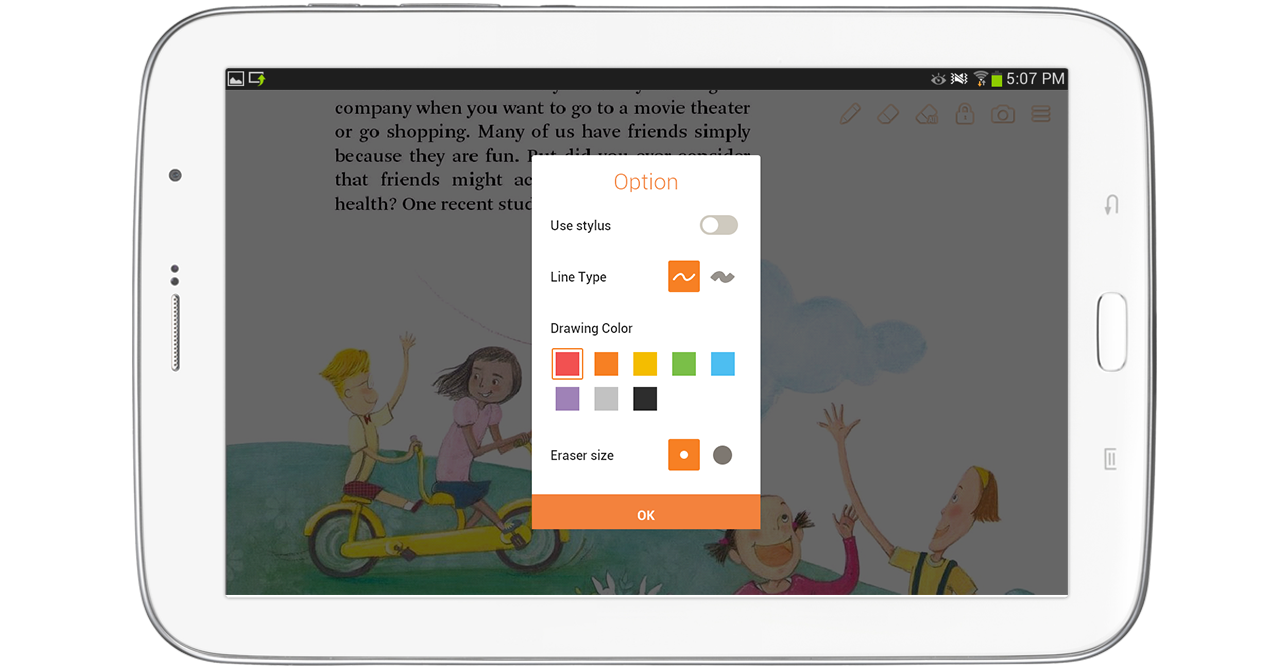
Option
- Use stylus: Decide whether to use stylus.
 Use stylus on : Drawing can be done only with the tablet’s stylus.
 Use stylus off : Drawing can be done only with a finger. It is enabled only when the Pen icon is selected under the tool bar.
 - Line type: Pen or highlighter can be selected.
- Drawing color: Pen color can be selected.
- Eraser size: The thickness of the eraser can be selected.
![]() Mission bell
Mission bell
This icon is used to check if students have finished solving a question or used as a way to poll the class on a specific issue. It is activated when selecting the “Mission bell” icon on teacher’s tablet. A widget to cancel it appears on teacher’s screen and the “Mission bell” icon is enabled on the students’ screens.

Mission bell widget in teacher tablet

Student Table
- The mission bell widget shows how many students selected the bell.
- Selecting “X” will finish the Mission bell.
![]() Screen share
Screen share
The teacher can capture and send their current screen by selecting the share screen button in the more menu. The screen capture is sent to the students and can be found as a thumbnail image on the right of their screen.
Screen share
![]() Race
Race
This button will turn selected pages with activities into a competition where results and rankings will be displayed.
1. Determine the range by selecting the start and end page.

Race popup
2. After checking the student responses in real-time, select the “Check answer” to end the race.
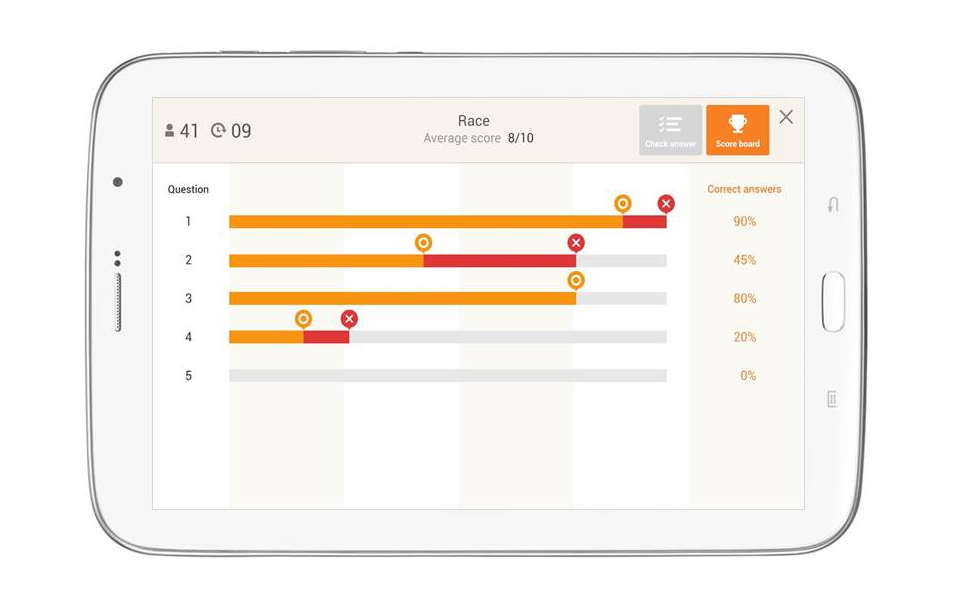
Race : Check answer
3. If you select the “Scoreboard” button, the rankings will be displayed.
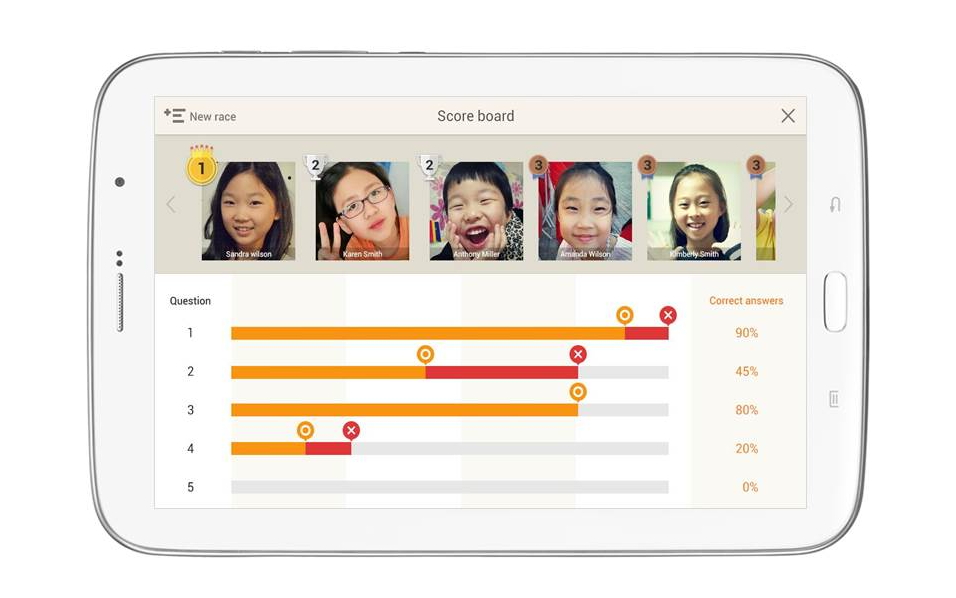
Race : scoreboard
![]() Create Group
Create Group
This icon is used when creating student groups.
1. Choose the number and groups and select the “Auto Assign” button to randomly assign groups.
2. Select the “Reset” button to reset the groups.
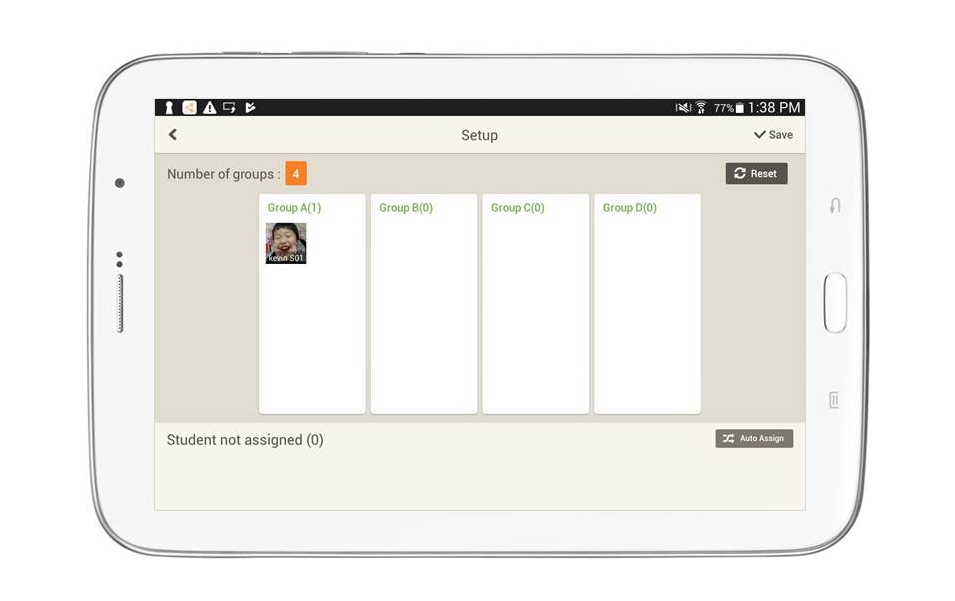
Create group
![]() Pick One
Pick One
This icon is used to select a student randomly.
1. Select the “Pick one” icon to launch the Pick one screen.
2. Select “Start” to pick one student.
![]() Exit
Exit
This icon is to finish the class. A confirmation pop-up is displayed when selecting the “Exit” icon. It exits to “My Class” when selecting OK.